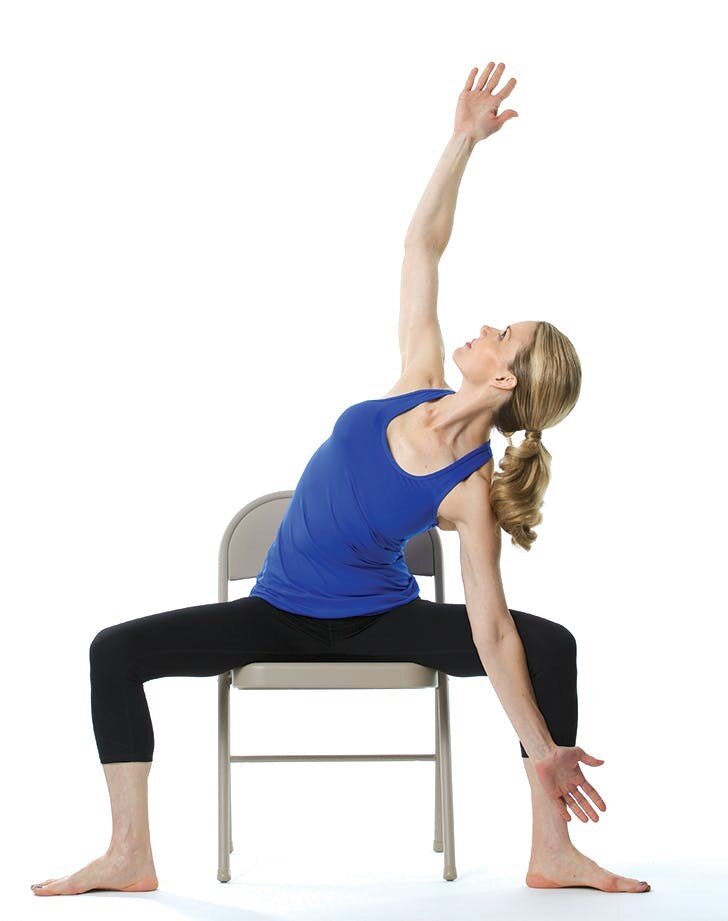
To begin this exercise, squat deeply (in a crouching position) - keeping your heels on the floor throughout and a straight back. Keep your chest lifted (not folding forwards), imagining that you have a beam of light shining outwards from the centre of the chest, and keep your spine extended - especially at the base. Place the palm of your left hand flat on the floor, between your feet, then raise your right hand straight up, following it with your gaze. You will feel a twist through the middle of your spine - if you don’t feel this, you may need to flatten your back, imagining that your shoulders are connected by a metal bar that runs across your back. Avoid twisting your neck too much to look at your hand: the main twist should come from further down, from the point just underneath your ribcage. Repeat 6-8 times on each side.
Top Tip: You can also try this exercise from a seated position on a chair, with both feet flat on the floor. Hold your hands in a prayer formation, palms together and elbows out, with your thumbs sticking out to rest on the Solar Plexus - on your chest at the base of the ribcage. Twist slowly from the centre, this time being careful not to move your neck at all - instead, keeping it in line with the spine. Twist gently from side to side, trying not to move from the waist down, with the movement coming from the middle of your spine. This is a lighter version of the exercise - and easy to do in the middle of the day to loosen up the spine.
5. Thread the needle (add a foam roller if you like)
Another exercise that’s perfect for increasing spine mobility, thread the needle is also known to stretch off tension in the shoulder blades. Loosening the muscles around the shoulder blades will make it easier to relax them, keeping them open and back.
Beginning on all fours, straighten your arms but keep your hips directly over your knees. Slowly thread your left arm underneath your right armpit - you will feel a stretch across the back of your shoulders. Try to remember to twist from the point just underneath your ribcage, to engage your thoracic spine. Then, slowly return your left arm back to the centre, and repeat the exercise on the opposite side. We recommend repeating this about 10 times on each side.
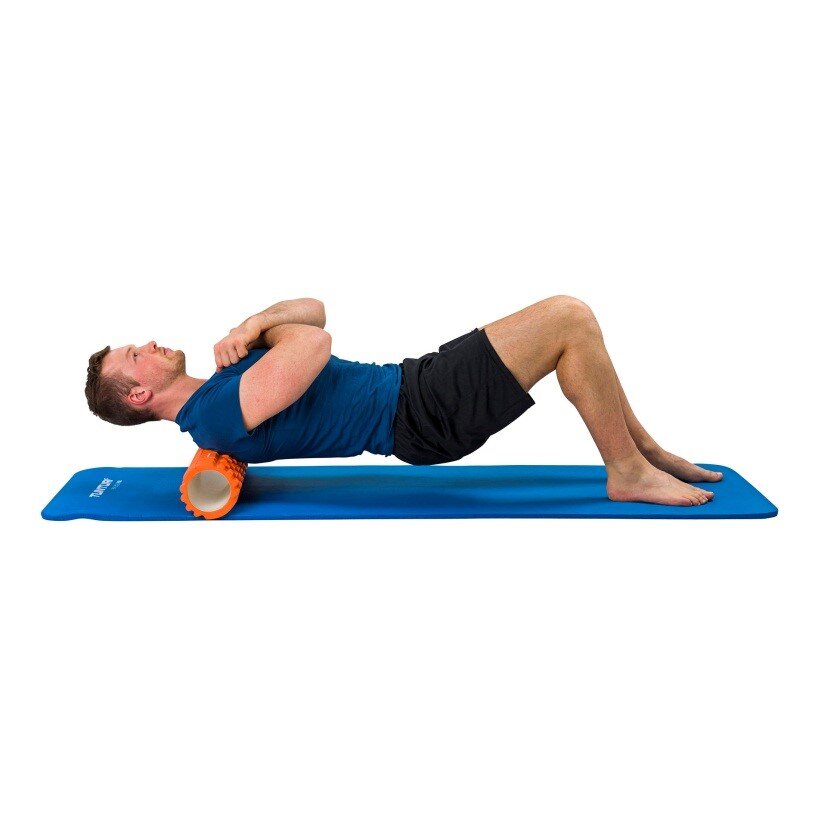
Top Tip: If you have a foam roller, you can use it to assist this exercise by placing it underneath the arm you are threading through - so that this arm gradually rolls underneath, rather than sliding it directly on the floor. The foam roller will gently massage tight biceps and triceps at the same time!
For more spine-twist exercises, we love fitness coach @abbycarpenter’s recent Instagram post.
6.Bridge pose
Another firm favourite here at Dragonfly Yoga Studio is the bridge pose. This is a particularly good exercise to do if you have any issues with spine alignment, such as scoliosis. It helps to train the body to keep the vertebrae in a straight line.
For this exercise, we find it really useful to imagine the spine as individual discs or vertebrae that can be moved separately. Start by lying on your back, with your knees bent and your feet flat on the floor - with a little space between the back of your heel and your bottom. Your arms can rest by your sides, or you can place them gently on top of your hips which will help you make sure that your hips are moving evenly.
Engage your core by drawing upwards through your pelvic floor muscles and sucking in your belly button. This should feel like a slight movement rather than an intense effort. Ensure that your back is flat on the floor - there should be only a very slim gap (if any gap at all) between your back and the floor. Wood or tiles are better surfaces for this exercise, if you don’t have a yoga mat!
Breathe in deeply, then breather out as you start to slowly tilt your pelvis towards you. Continue this movement by lifting your hips upwards off the floor, imagining that you are peeling the vertebrae of your spine off the floor, one by one. Continue this movement, raising your hips higher, staying aware of any wobbles in the spine. Your aim is to keep the vertebrae
in a straight vertical line as you raise them up - the muscles should be working evenly on both sides of your spine, and your hips should remain level. It can be useful to picture whether you could place a ruler flat across your two hips - if it would slip off in one direction to the right or left side, then you need to level your hips out!
Stop lifting your hips when you get to the base of your shoulder blades. Breathe in again, holding this position for a moment, before breathing out as you place the vertebrae back down on the floor, one by one. Keep your concentration on placing the vertebrae down in a straight vertical line, keeping your hips level.
Finally, as you practise the exercise, take notice of what happens to your shoulders - do they tense up around your ears as you concentrate? The strength for this exercise should come from your core - so breathe out through any other muscles around your shoulders which are trying to compensate by tensing up.
Top Tip: At first there is a lot to remember with this exercise, but once you start practising you’ll find you can easily get the hang of it. The key thing to remember is, the slower the better! Doing this exercise slowly helps you isolate each part of your spine.
7. Isometric Rows
This exercise can be done sitting at your desk, so it’s a great one to do at intervals throughout the day. It will build strength in your upper back, needed to keep your shoulders rolled back and your chest open.
Simply sit upright in a chair, bending your arms so that your fingers face forward and your palms face each other. Take an inhale here, then exhale as you draw your elbows back into the chair and squeeze your shoulder blades together. Hold the squeeze for a few seconds, then inhale to release. Repeat this 15-20 times!
Top Tip: Repeat this exercise again throughout the day, to build up the upper back strength you need for open, relaxed shoulders…without even noticing!
What are the benefits of posture correctors?
For a more intense fix, there are a number of posture correctors available. You could try a posture brace, which will help to reset your muscle memory so that you sit naturally straighter. Definitely seek the advice of your GP and have a look at plenty of reviews before you buy - as different correctors are designed to focus on different areas, so it’s important
that you select a posture brace that’s right for you. We love Good Housekeeping’s review of the 11 Best Posture Correctors, which gives details about the top correctors on the market and which areas they are designed for.
What’s our biggest secret for perfecting posture?
...Little and often! The more you do these exercises, the easier it will become to remember to stand straight. You will notice progress in your posture checks each morning - we love taking a couple of snaps occasionally, so that we can track and celebrate our progress over time.
Yoga and pilates classes are a brilliant way to consistently build posture exercises into your life, while also building core strength and flexibility. Start your yoga journey today, by checking out the classes on our timetable. For posture-busters, we love Ella’s pilates classes or our Iyengar Yoga classes with Jacqueline, with strong emphasis on posture and alignment.
We look forward to welcoming you at the new, improved Studio, or seeing you online!


